Create Crystal Clear Saturn & A Bull's Eye But Blur When Needed With
Photofiltre Gradients.
Image
editors and viewers, there are many but every one of them is so
unique! What feature of every tool you will discover at a particular
point in time is so hard to predict but sometimes you are just so
delighted to see the results of your experiments with shapes, colors
and techniques. Let me mention Phoxo, an excellent tiny image editor I used a long time ago to create tons of gradients.
You can take a look at
gradientsquare, a one-page view of 47 gradients, download all of them in a zip file here at
Download From Sqlhtm.com.
Go grab it while
it's still there. I must also list a longtime favorite, simple
yet powerful image viewer, Irfanview, which is fortified with
lots of plugins to expand its versatility. But I am really going to
describe how I used two of Photofiltre's numerous features
here. Gradients and blur are so simple and easy to use but they have
the power to bring our images and pictures to life with even basic
manuvres.
You may click on every image for a bigger view.
I.Three steps to Saturn


Call
it the "Belly Dancer", the "Ringed Thing" or the "Hard-hatted Beauty",
Saturn is photogenic from any angle. The distant Sombrero galaxy may be
the best looking heavenly object I have seen so far, but our own
ringed beauty Saturn is cool in its own simplicity. While you can't get
anywhere close to it anytime soon, you can still capture its good looks
easily with gradients.
Step l: The background
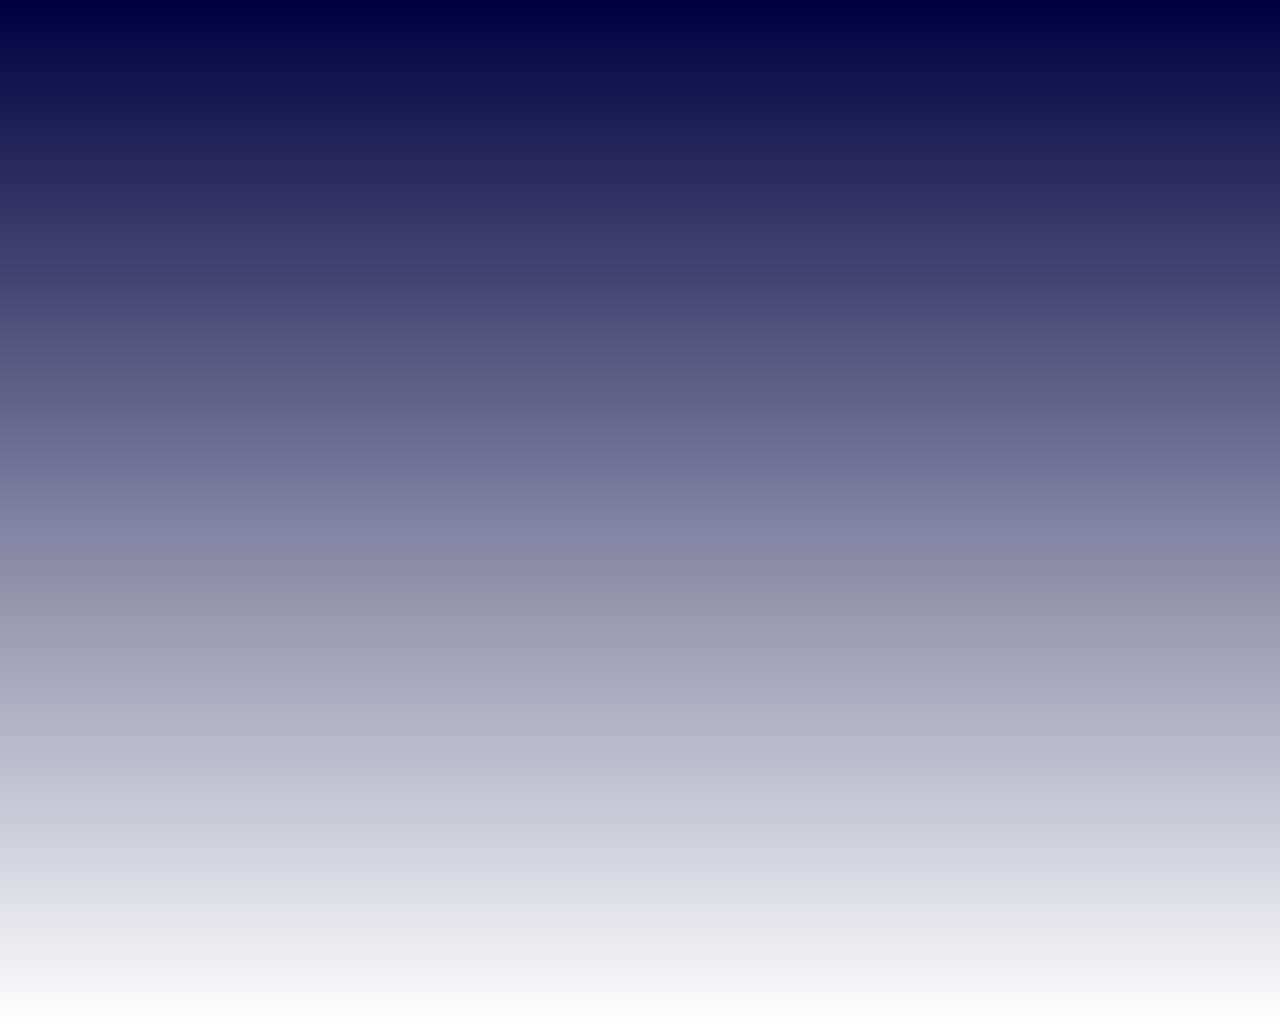
- Start Photofiltre.
-
Click [File]-[New] from top menu or press [CTR-N] to start a new image.
-
Select a high resolution[eg.1600x1200] from the list of preset sizes.
The advantage here is that, while you start with a high definition
image now, you can convert/resize it later as needed. Leave others to default and press [Ok].
-
Maximize the window and click on the second icon from the extreme right
on the top row of the top menu to auto zoom your image.
-
Click on the sixth icon from the second row of the top menu on the
extreme right to select [gradients].
-
Select [duotone]
under [style], [top to bottom] under [direction].
- Select a favorite color (I
chose dark blue) under [color1], set [opacity] to 100%.
- Select [white] under
[color2], set [opacity] to 100%. Press [preview] to check, [Ok] to confirm.
Step 2: Saturn itself
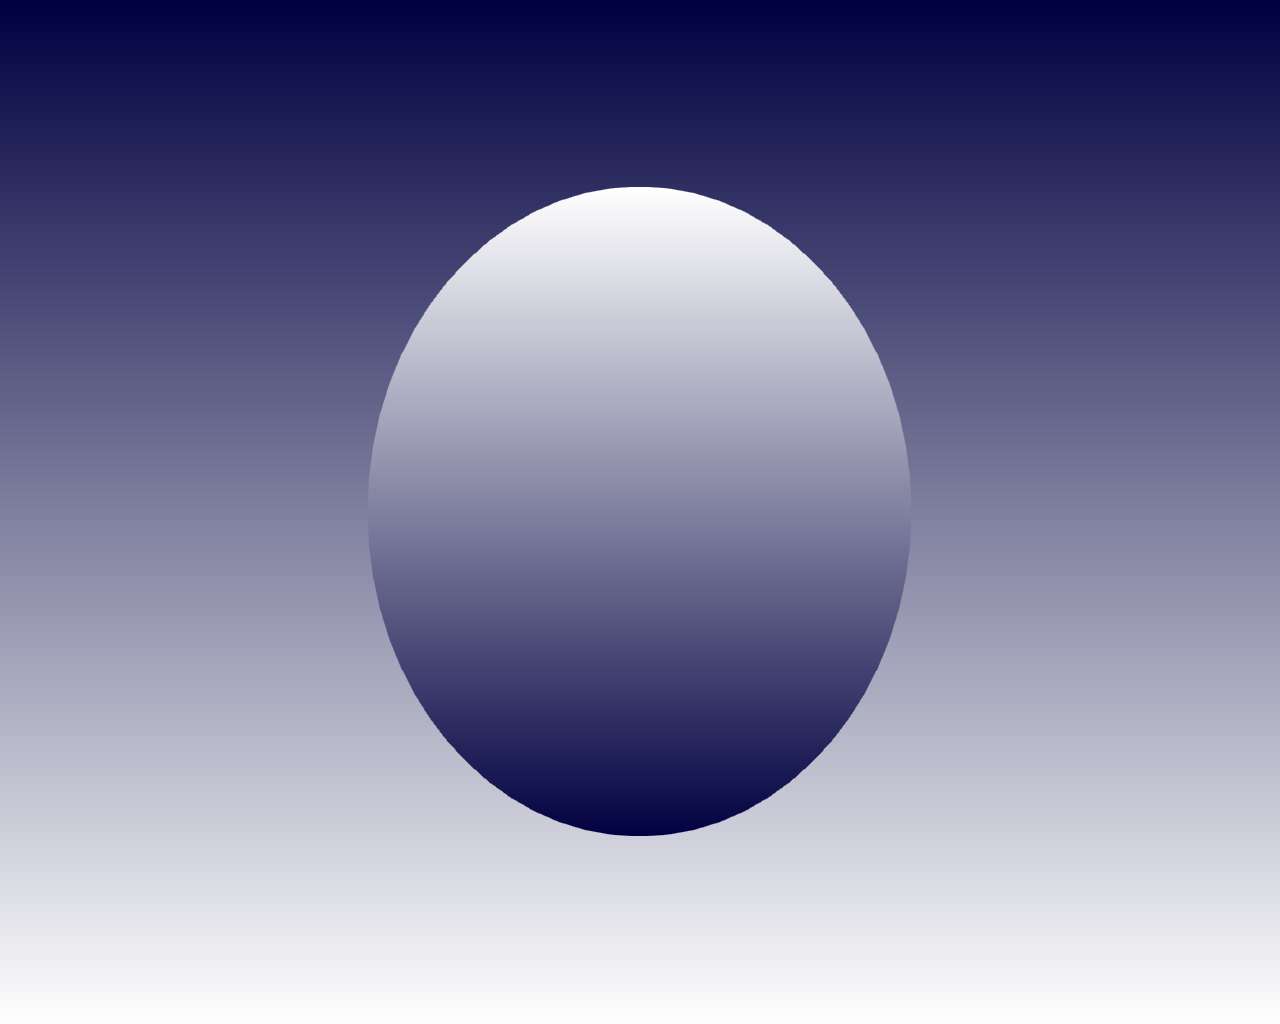
- Click on the arrow [selection tool] on the right panel and then select the [ellipse] icon.
- Click and drag around the center of the image to create a 3" to 6" circle .
- Click on [Selection] from the top menu, select [Center] and then select [Image center].
- Click on the [Gradient] button,
select [Bottom-to-top], press [Ok] and press escape.
Step 3: The ring thing
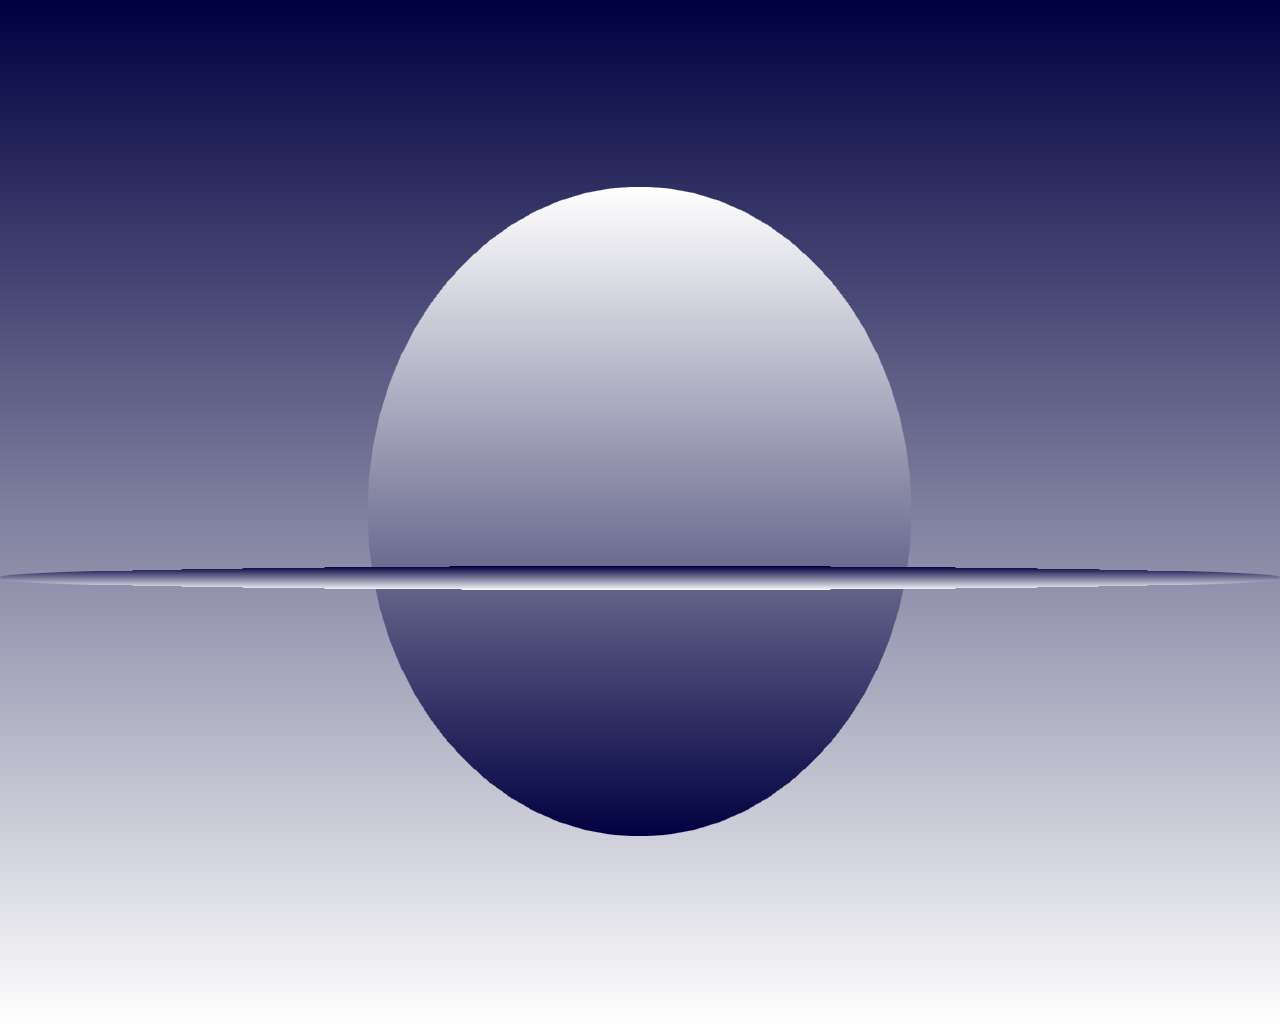
- Click on the arrow [Selection tool] and then click on the [Ellipse] icon from the shape icons.
- Just
below the middle of the screen, click just outside the left edge of the
image, drag straight to just outside the right edge to make an ellipse
about 2-third to 3-thirds of an inch.[The thinner the ring, the easier
to create. Larger rings might require a little copy/paste].
- Click on the [Gradient] button,
select [Top-to-bottom], press [Ok] and press escape.
I like my Saturn, how do you like yours? Click on mine for a bigger view.
II.Mercurial Magnificence[aka Bull's Eye]


I used Photofiltre 6.5.2 to create the samples for this article but
read on and see how you can test these with your own favorite image editor, or,
why don't you just download and try this wonderful image editor itself? Gradients simplistically used may be boring but
alternate them and see the magic. Click on the sample images above to
check this out for yourself. Let's go ahead and create the first one for
ourselves, a little bull's eye so smooth you can stare at it for a long
time.
Step l:
-
Start Photofiltre.
-
Click [File]-[New] from top menu or press [CTRL-N] to start a new image.
-
Select a high resolution[eg.1600x1200] from the list of preset sizes.
The advantage here is that, while you start with a high definition
image now, you can convert/resize it later as needed.
Maximize the window and click on the second icon[Maximize] from the extreme right
on the top row of the top icons to auto zoom your image.
-
Click on the sixth icon from the second row of the top icons on the
extreme right to select [Gradient].
- Select [Duotone]
under [Style], [Top to bottom] under [Direction].
- Select a favorite color (I
chose dark blue) under [Color1], set [Opacity] to 100%.
- Select [White] under
[Color2], set [Opacity] to 100%.
- Use [Preview] at any time
to view changes, and press [Ok] to exit.
Step 2:
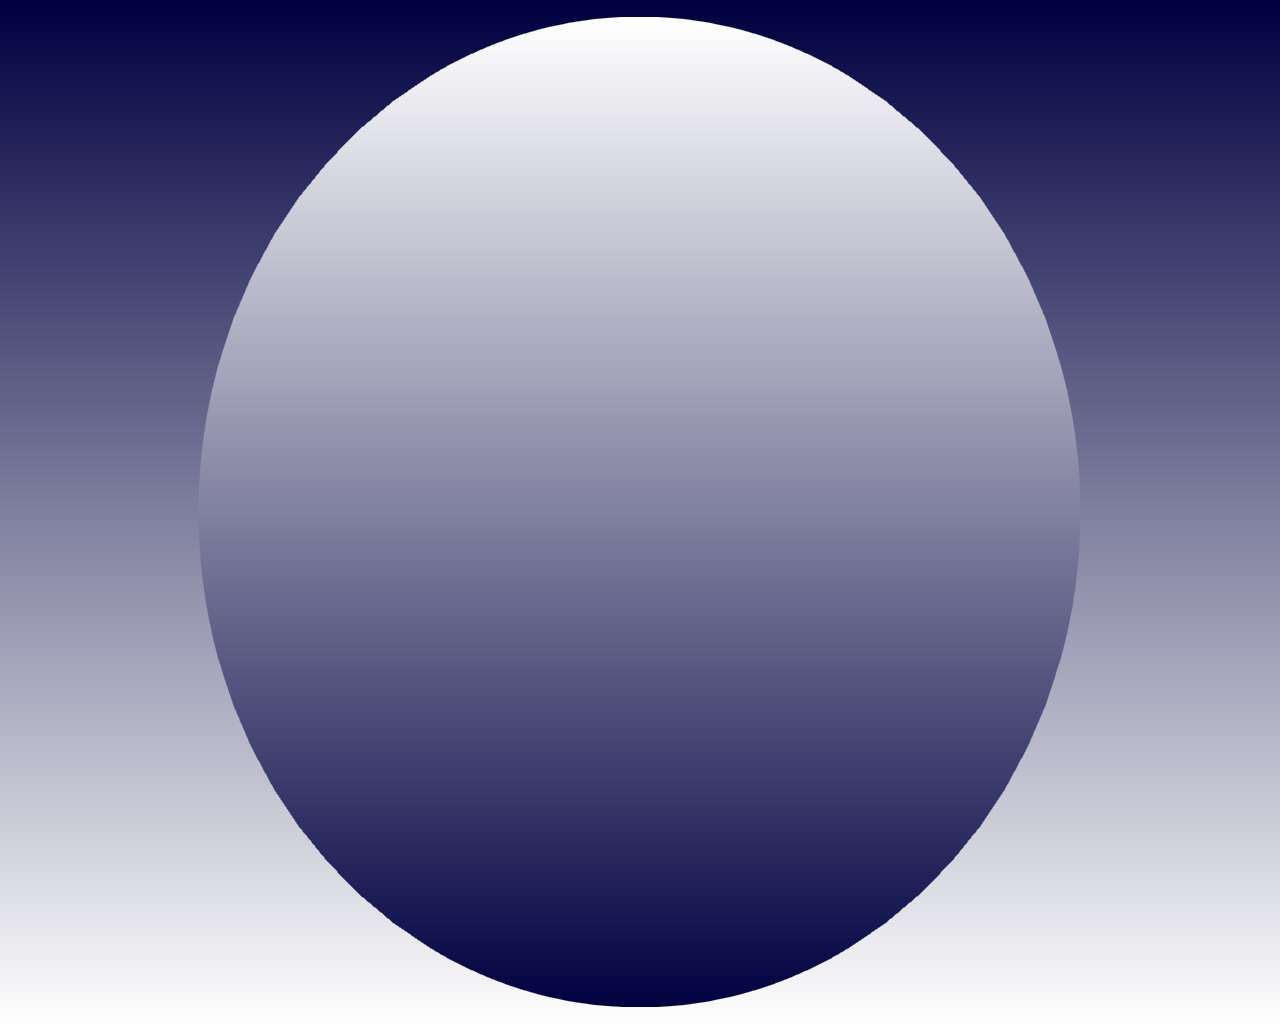
- Click on the arrow[Selection tool] from the middle group of icons, and
select [Ellipse] from the
bottom group. Click and drag to make a big circle around the center of
the image. Press [Selection] from the top menu, then press [Center] and
then press [Image center].
- Press
[Gradient] button again, select [Bottom to top] this time and select [Ok] and press escape.
Step 3:

- Click
on the arrow[Selection tool] from the middle group of icons, and
select [Ellipse] from the
bottom group. Click and drag, about
half-an-inch inside of the first circle, to make a smaller circle
around the center of
the image. Press [Selection] from the top menu, then press [Center] and
then press [Image center].
- Press
[Gradient] button again, select [Top to bottom] this time and select
[[Ok] and press escape.
Step 4:

- Repeat
[step 3] as many times as you like, one for each circle, just make sure to
alternate the direction of the gradient.
I stopped with two more, you
can go on until you're happy with your own bull's eye/speaker box/mercury
bowl or
whatever else you want to call it.

III.Easy blur for background images
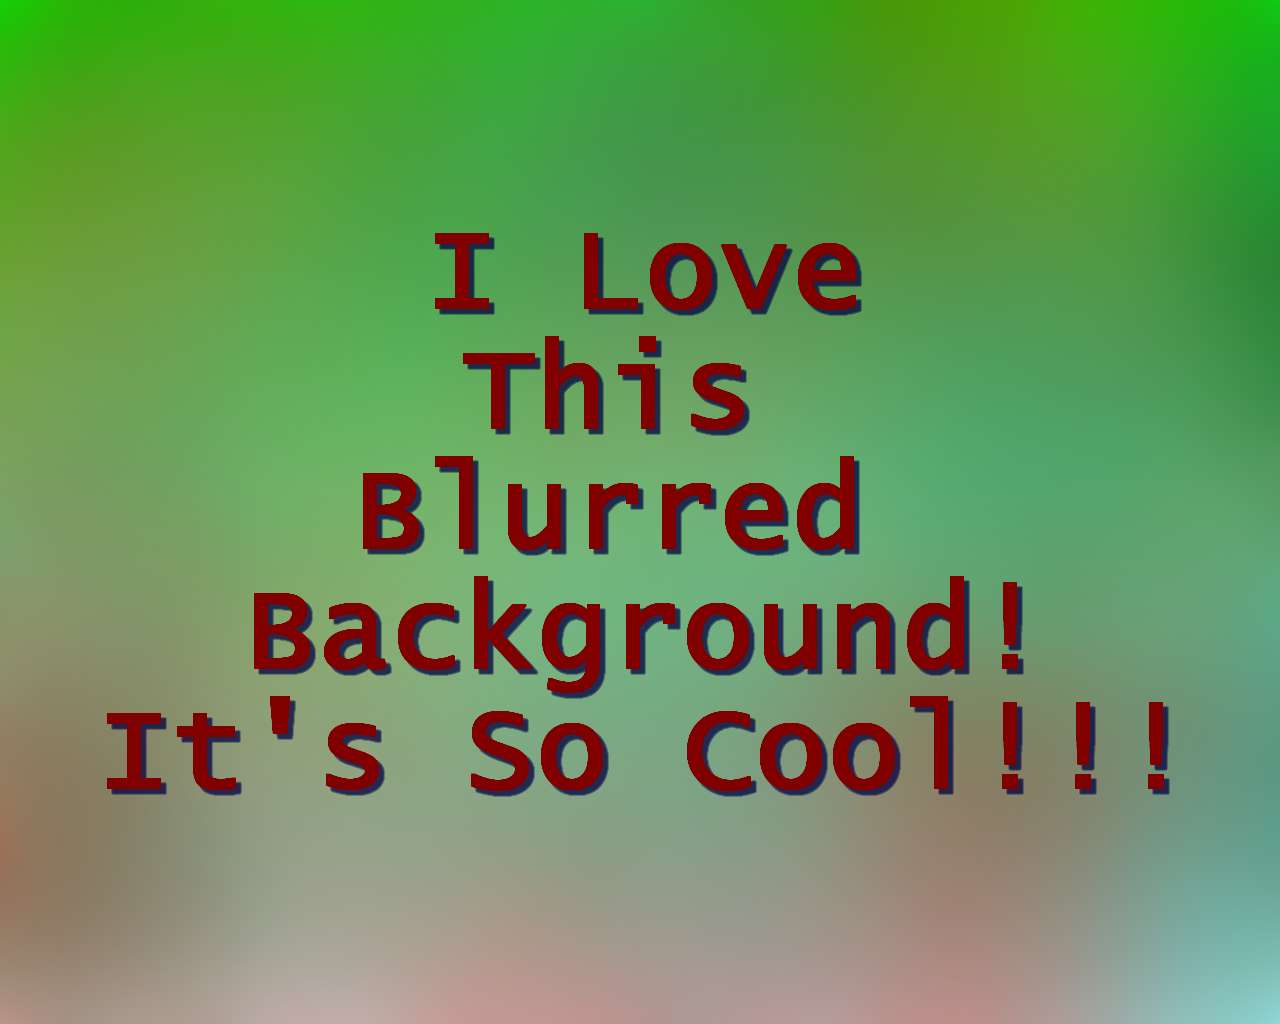


One
of my favorite blogspot themes has a zoomed out background picture. I
suddenly found an easy way to create a similar effect with Photofiltre.
It's so powerful it's uses can be countless.
Step l: The background

- Start Photofiltre.
-
Click [File]-[New] from top menu or press [CTRL-N] to start a new image.
-
Select a high resolution[eg.1600x1200] from the list of preset sizes.
The advantage here is that, while you start with a high definition
image now, you can convert/resize it later as needed. Leave others to default and press [Ok].
-
Maximize the window and click on the second icon from the extreme right
on the top row of the top menu to auto zoom your image.
-
Select the bucket [Fill tool]
from the right panel, select the flouracent green color from the color-palette and fill the canvas with it.
Step 2: The spray effect
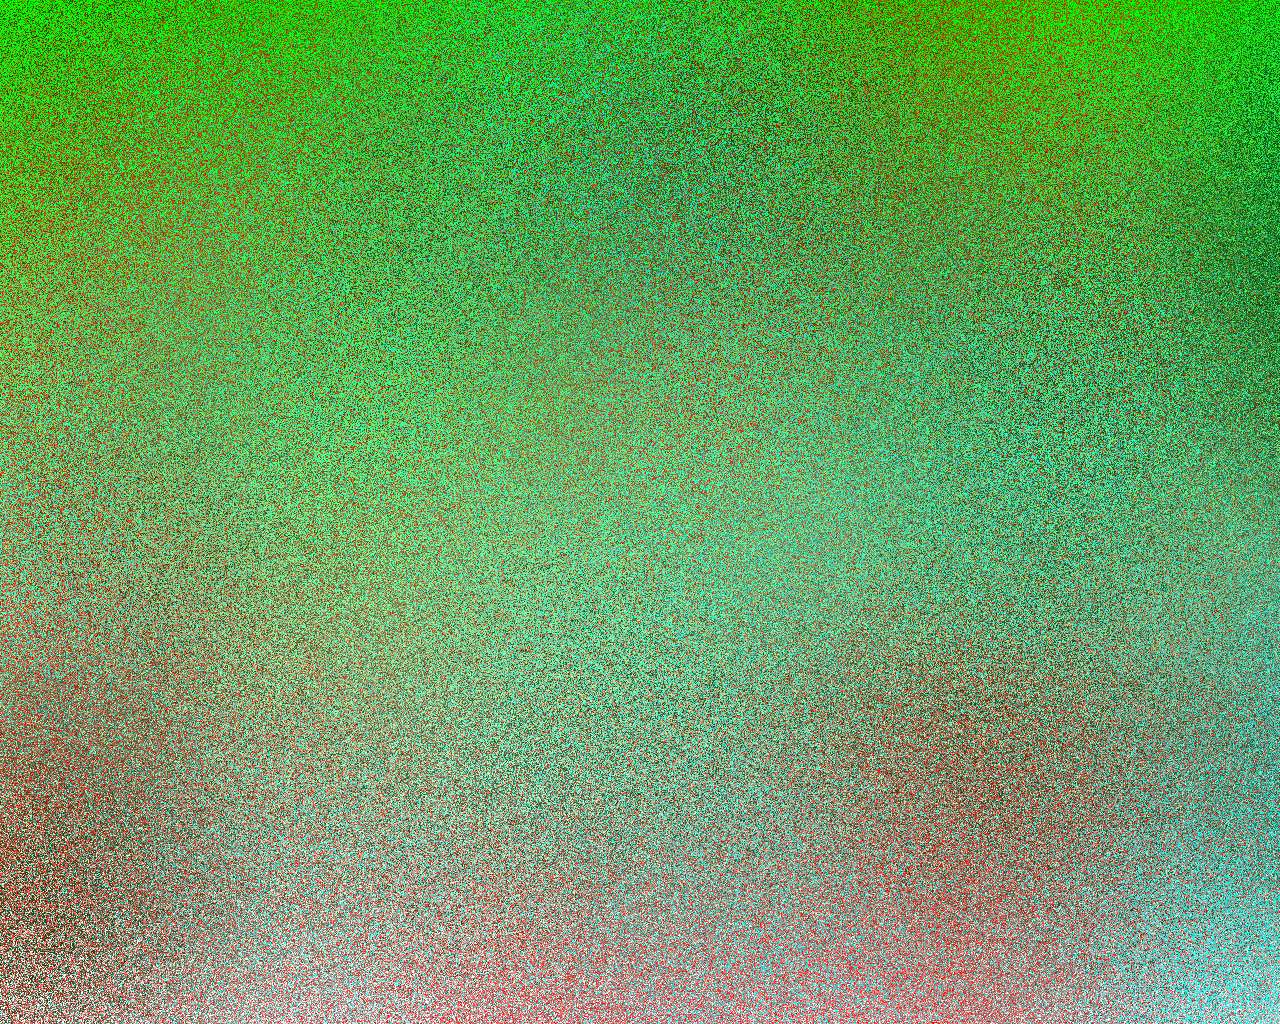
- Press the [Spray tool] from the right panel, set [Pressure] and [Dispersion] to maximum and set the [Radius] to maximum[300].
- Select bright
red from the color palette and gently spray until you get an even
spread for the most part. Repeat with one or more different colors.
Step 3: The Gaussian clout

- Select
[Filter] from top menu, then [Visual effect] and select [Gaussian
blur]. Set [Radius] to maximum[30pixels], press [Preview] and change as
needed and press [Ok]. I am sure you
are as happy as I am at the results of the zoomed out background. Now
let us create the text we want to display.
Step 4: The heading or text
- Press
the [T] icon from the top icon row and set the [font size] to 90.
- Select
your favorite font, set style to [Bold], select your favorite color,
align center if you like and type your heading or text.
- Under
the same [Text] window select the [Effects] panel and try [Opacity] at
100%, [Drop shadow] at [x=5], [y=5], select a dark color[Dark Blue] and
press [Ok].
- Select [Selection] from top menu, then [Center] and then [Image center].
Change
these values to your taste till the result looks good to you.
Don't forget to try the [Negative mode] check box which makes an
interesting effect
too! Don't think you are restricted to this manual method
for using the Gaussian filter. An equally great or better way might be
to use other suitable photographs, especially nature photos
as base material. If you want to reduce the file size,
use [tools]-[preferences] to configure compression for jpeg
images, which I think gave me the smallest size compared to other
formats.
Download:
You may download images used in this article from HERE
Check out these links:
1.
Photofiltre: The
official site
2.
Phoxo:
3.
JcWhat's 47 Gradients zip file download
4.
JcWhat's BullsEye Gradient technique image bundle


 10/28/2012 01:50:00 AM
 Jsc Jwhat Jerome Christopher
, Posted in
Animation
,
Computers
,
Image Editors
,
Java
,
JRE
,
Linux
,
Puppy Linux
,
Tiny tools
Jsc Jwhat Jerome Christopher
, Posted in
Animation
,
Computers
,
Image Editors
,
Java
,
JRE
,
Linux
,
Puppy Linux
,
Tiny tools


